I’ve mentioned before(complained more like…) that I don’t have much room or light to garden. I got into houseplants so I could have at least some way to interact with plants, but these last couple of years I’ve been experimenting with different ways to maximize the space I have in my tiny patio to garden herbs and veggies as well.
This past month I’ve been on a mission to “greenify” my patio, and here are the 3 different solutions I came up with to make use of the wall space I have. They’re cheap, effective and fast to set up!
Idea #1) The Grow Bag
Total Cost: $7-$30+
Setup Time: 15-30min

Grow bags are an awesome, versatile solution for a vertical garden. If you’re not familiar with grow bags, they’re made out of a breathable material that allows for healthy roots so you just go ahead and fill the bags up with dirt and plant the seeds. They can come in a few different colors, the most common being black.
What’s awesome, is since you can plant into the grow bags directly, the plants can really fill up the space so it’s not an eyesore. On top of that, they’re very fast and easy to put together, maybe 5-10 minutes to hang them up and then another 10-15 minutes to prep soil and plant them. Prices range from $8 for smaller grow bags like the ones I have up to $30 for more elaborate ones, so they’re pretty cost effective.
Cons include that you have to have something to hang them off of in order to actually be able to use them. They have grommets built in(usually) so you can hang them pretty easily, so maybe that means drilling some screws into a wall and hanging the grow bags that way, or tying them up to a pole or a fence.
In my case, I have an ugly fence surrounding my patio that I wanted to cover up. Here are the steps for how I went about it:
-
First step is to hang the grow bags! I didn’t want to have to drill into the fence so I tied them up with these jute ribbons instead.. Maybe you don’t like the jute bowties, but it works for me fine, and hey, it does the job!:)
-
The next step is to simply fill them up with soil. I like to set aside some soil into a small bin, pour in water, and let the soil soak up the water before adding it to any planters but you can just add the soil directly and pour water afterwards to moisten it up.
-
Once the soil is prepped, you can start planting the seeds! Some awesome options to plant in smaller growbags like these are herbs, lettuce, and leafy greens like spinach and arugula.
You can get larger grow bags so you can grow tomatoes, cucumbers or potatoes but since mine were on the smaller side I just decided to keep it to herbs, namely cilantro, oregano, basil, arugula, chives and thyme.
I love this setup so much you can bet I’ll be setting up more of these around the fence and I’ll be making sure to include lettuce and maybe even some cucumbers or other trailing plants!

Now, I was hooked into the whole vertical gardening thing, so I wanted to try to cover up as much vertical space on my patio as possible, including the walls of my actual condo…
Idea #2) Trellis Setup #1
Total Cost: ~$55
Time: 20-40min

Monstera Deliciosa babies!
In my case, I couldn’t hang on the walls of my condo(I mean, I may be able to drill into the walls but I don’t particularly want to get into it with the housing association), so grow bags were an automatic no for the walls.

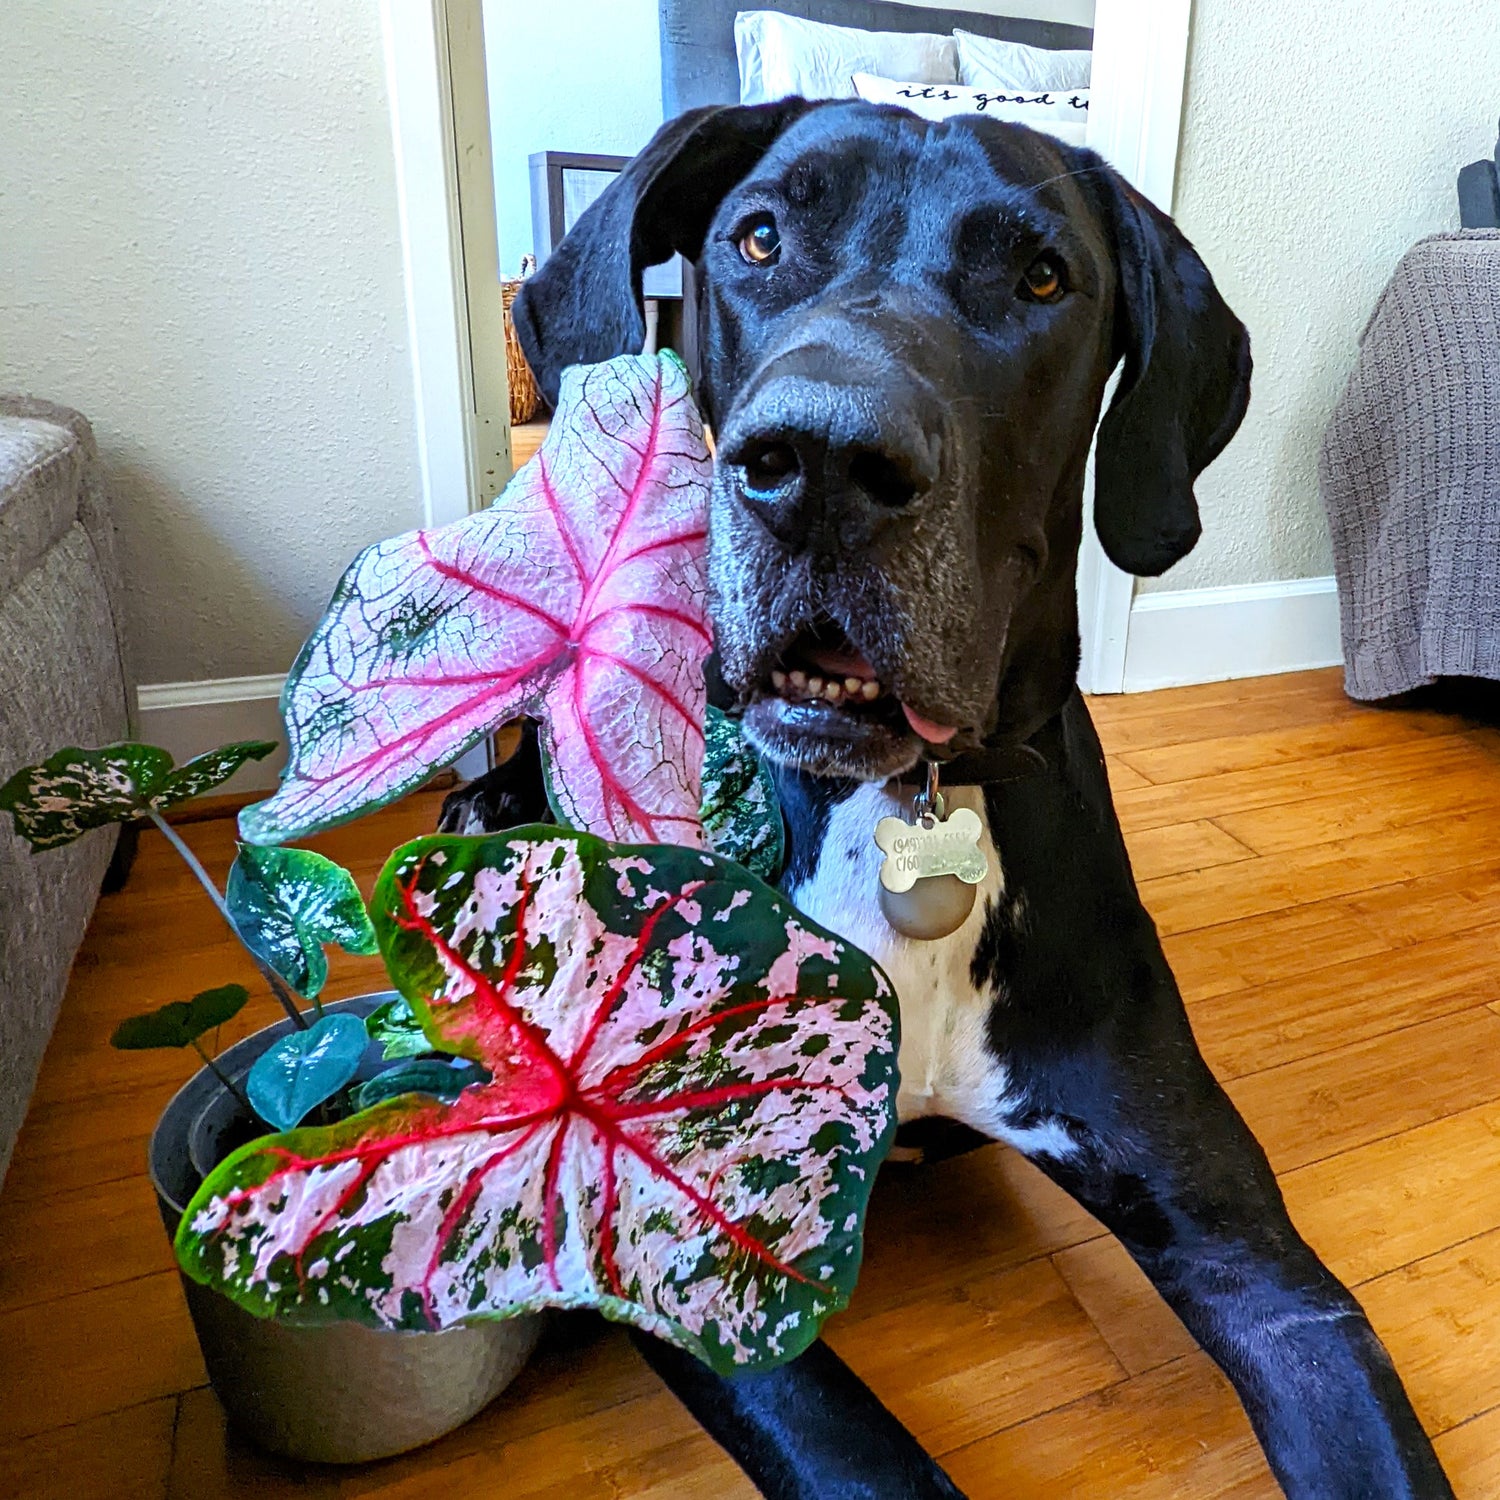
(Rocko the Great Dane looking confused about this project!)
So I decided to use trellises and hang planters off of them. It wouldn’t be as much of a sleek solution, but it’s a very cheap and easy alternative to grow bags, and if you set them up right, it can look even better!
The first setup I tried was using wooden boxes I tied to the trellis, like so.
Perks of this kind of setup is the kind of flexibility it allows you. Even grow bags don’t give you this option! You can switch around plants in this setup however you like, so it’s an ideal solution for those of you constantly working on different plant projects(like myself!)
In terms of the setup, you’ll need:
-
A trellis- I found mine at Home Depot, I took measurements of the space I had available and these were a great size and were only about $15.
-
Wooden boxes- You can make the wooden boxes yourself, or you can buy them. I found mine at Michael’s for about $6. Keep in mind you’ll need to have some way to tie up these boxes so think ahead about whether or not you’ll need to drill in some holes.
-
Some string or wire to hang up the boxes- I used a jute ribbon material.

Once you have everything, it’s time to set up!
-
Make sure to set up your trellis so that it’s stable. You can use planters that you fill up with sand, rocks or soil, or you can dig into the ground like I did.
-
Next, you can start tying up the planter boxes. Tie up as many as can fit!
-
That’s basically it, from there you can start adding planters to the setup and you have yourself a little hanging garden :)
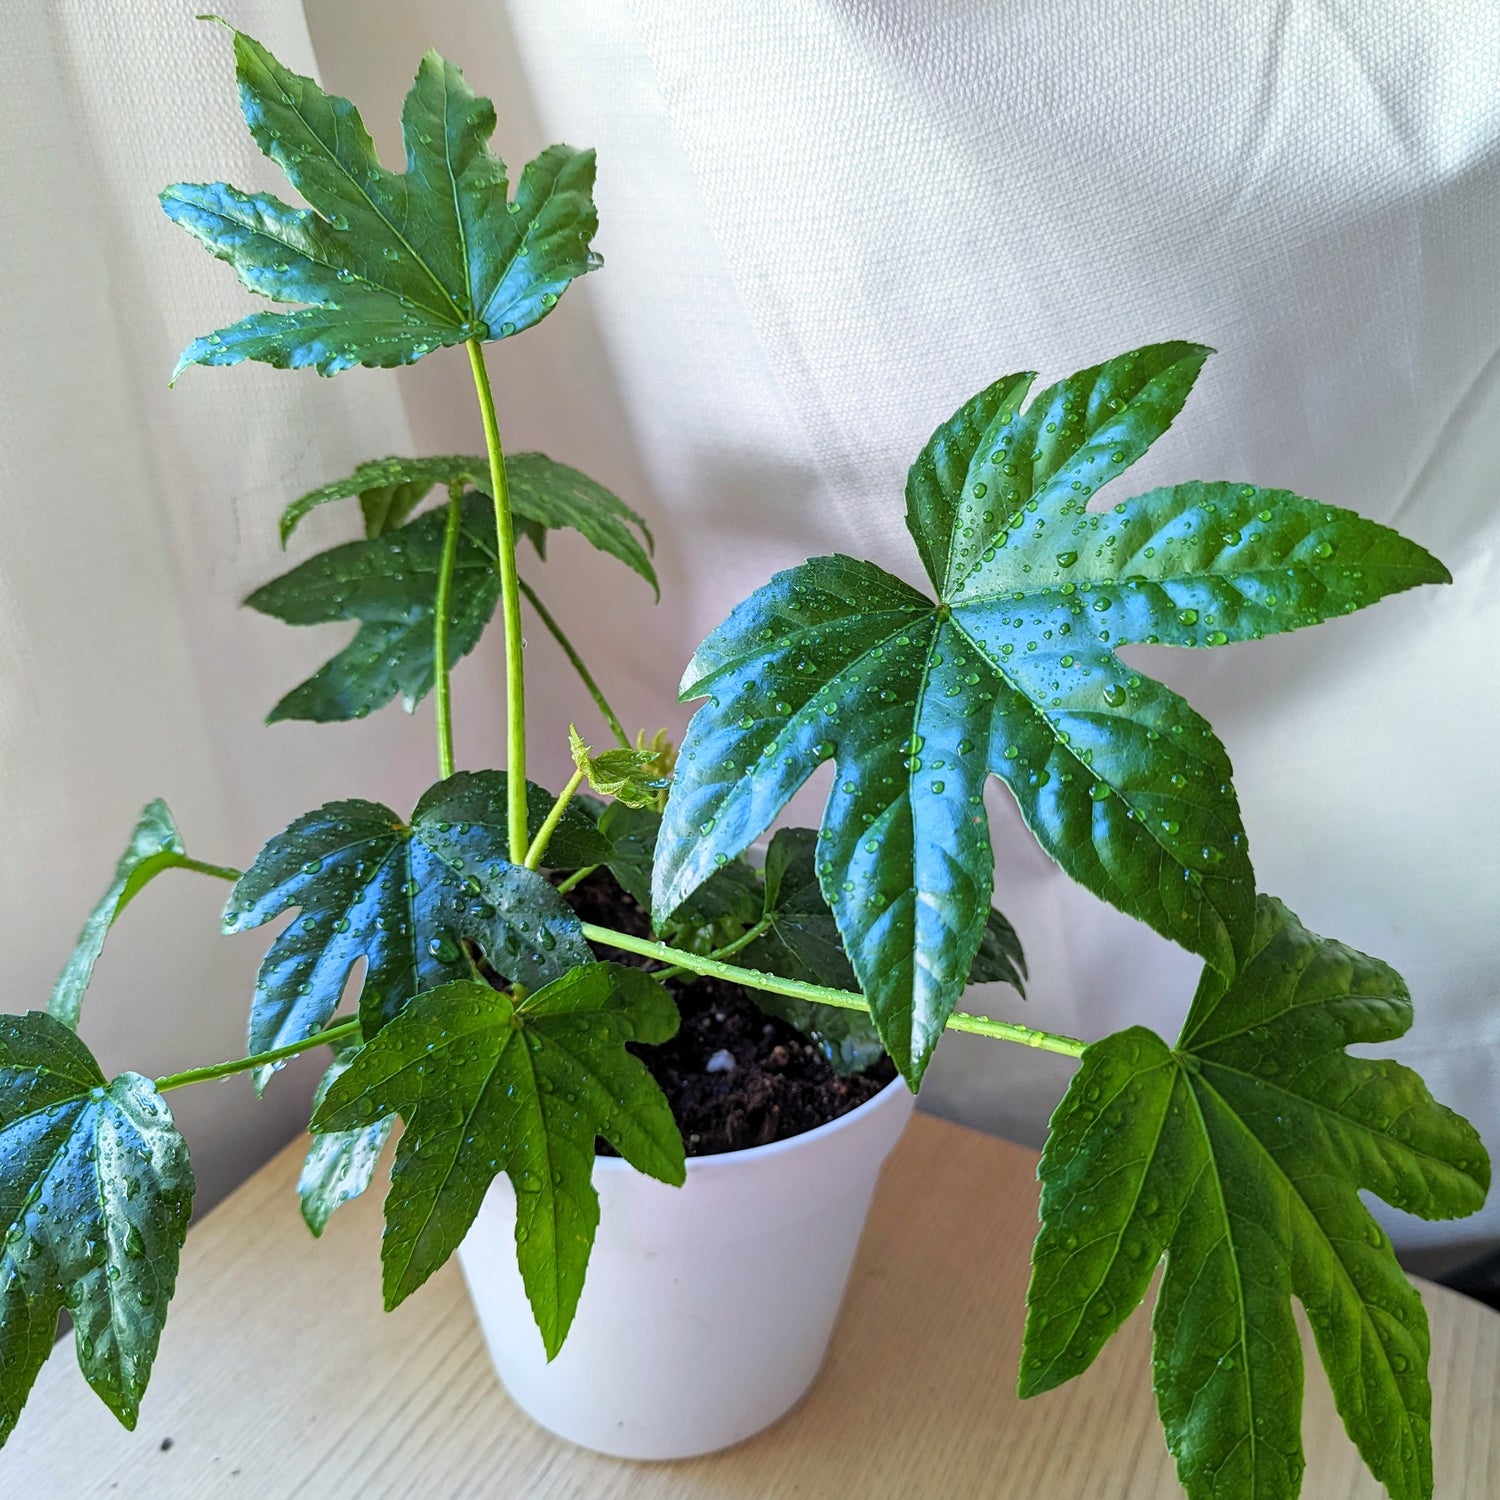
As you can see in the photo, I have some Monstera Deliciosa babies in the top row, some Wheatgrass trays in the second row, and finally a bunch of houseplant seed planting projects, including Dwarf Umbrella Plants, Japanese Aralia and African Violet babies, in the bottom three rows. Thank goodness for the extra space because I was starting to panic about where to keep all my little projects!!
Idea #3) Trellis Setup #2
Total cost: $15-30
Time: 20-40min

Similar to the last setup, I used a trellis(the same trellis) but instead of digging it into the ground for stability I propped it behind my patio pond so it could be completely flat against the wall.
Instead of using wooden boxes, I used cans that fit in rather perfectly between the gaps like so. In my own opinion, I find this to be a little more aesthetically pleasing. On top of that, it’s more eco-conscious since you’re reusing cans instead of purchasing new planter boxes, and for that matter it also saves you a little $$ which is always a bonus!
Another point to consider, this setup is the most DIY than the other two since you’re going and making your own planters so it’s good to have some tools on hand.
So for this setup, what you’ll need is:
-
A trellis
-
Cans
-
Twine + tools
-
(spray paint)
-
String or wires to hang up the cans


-
To start, set up the trellis, as with the last setup.
-
Next, you’ll want to prep the planters. You’ll probably want to start saving up cans, I like to use the larger ones like the ones from crushed tomatoes. Remove the label, make sure the can is clean.
-
Take a hammer and a big nail(or maybe a drill) and hammer in some drainage holes on the bottom of the can.
-
I use wire cutters to also cut two holes on the top of the can to tie string to. Make sure that the holes are on opposite sides otherwise the can will hang uneven.
-
This is where you have to make some choices about what you’d like your final result to look like, namely, do you want to spray paint the cans at all or are you happy with their current look? If yes, you’ll want to get some sort of tub to toss the cans in and spray paint them.
-
Next, tie some twine, string or wire to the cans through the two holes at the top, and then tie it to the trellis so that it sits in the gaps. Honestly, you can tie them up however you want, this is just a sturdy and non-cluttered option :)
-
Now you’re ready for plants! If you’d like, you can plant directly into the planters, otherwise, you can do what I did, and just put smaller planters in them. That way, like with the first trellis setup, you can go and move around the plants as needed.

I have to say, this trellis setup is my favorite out of the 3. It may be the plants I have in there, but I just think that this kind of design looks the best! While the first trellis is really nice with the flexibility it offers, I don’t think it necessarily optimizes looks, so it’s definitely more of a functional setup than something to really beautify the patio space.
As for the grow bags, maybe my opinion will change as the plants grow bigger and really start to cover up the space, but I think that the cloth by itself looks more awkward than say the empty version of the second trellis setup. That’s just me, though, what do you guys think? And tell me what kind of vertical garden or small space gardening setups y’all have!
Did you like this post? Check these out!